Feeling tired? Need a jolt of energy? Instead of grabbing another cup of coffee, sipping a soft drink, or diving into a bag of candy, enjoy a healthful, homemade energy bar to n aturally refuel your get-up-and-go tank.
I have a recipe from Health magazine for Nutty Popcorn Bars that’s easy to make, has natural sweeteners, and is a protein- and fiber-rich healthy alternative to typical empty-calorie snacks like chips and candy, or even traditional granola bars. Despite their clever advertisements and food labels, many of the mass-produced granola and energy bars are loaded with sugar, salt, calories, and fat. And they don’t even fill you up.
I’m not saying this recipe is the perfect solution to a snack in a bar, but it’s certainly a more nutritious and healthier alternative to the bars available in the grocery store. Plus, you can tailor the recipe to your own individual tastes, perhaps adding dried fruit, dark chocolate, or whatever ingredient piques your taste buds.
Check them out and see if they rev up your afternoons!
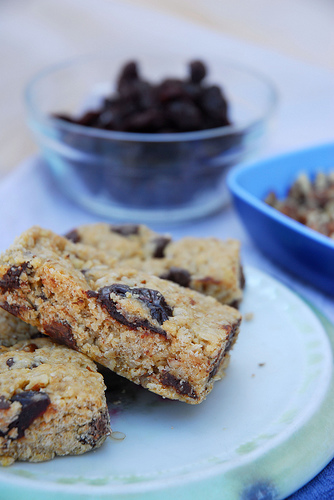
Nutty Popcorn Bars
Ingredients:
1 1/2 cups regular oats (such as Quaker)
1 cup salted, dry-roasted peanuts
12 cups popcorn (without salt or fat)
1/2 cup unsalted butter
1 cup light brown sugar
5 tablespoons honey
1/2 teaspoon kosher salt
1/4 teaspoon vanilla extract
1 1/2 cups raisins
Directions:
1. Preheat oven to 350°.
2. Place oats and peanuts on a baking sheet; bake for 12 minutes. Remove sheet from oven and cool oats and peanuts completely. Place popped corn in a very large heatproof bowl that has been sprayed with cooking spray.
3. In a medium saucepan, combine butter, sugar, and honey. Place the saucepan over medium heat and stir with a heat-resistant spatula until the mixture comes to a boil. Then boil the mixture for 1 1/2 minutes. Remove the saucepan from the heat and stir in salt and vanilla.
4. Pour hot syrup over popped corn and stir with spatula until corn is well coated. Stir in reserved oats and peanuts, plus raisins. Spread evenly into jelly roll pan or cookie sheet. Allow to cool completely, about 30 minutes.
5. Turn out the cooled mixture onto a large cutting board; cut into 24 squares. Store in an airtight container for several days.
Happy eating!
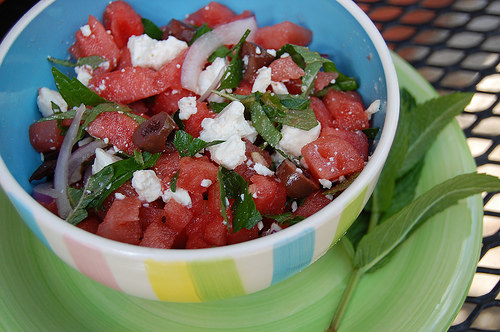
 njoying foods that cool us down and quench our thirst. My favorite summer food is watermelon, which conjures up plenty of fun warm-weather memories from my youth. I still enjoy a good watermelon in the summer, but now that I have a more mature palate, I like to create new and unique-tasting dishes in which watermelon’s flavor shines. My current favorite dish is a salad with watermelon, sweet onions, and feta cheese. Although it might sound oxymoronic to combine these ingredients together, the end result is simply scrumptious!

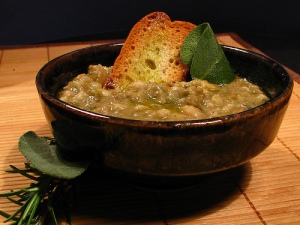
 As most of the country experiences frigid temperatures this winter, I suspect many people gravitate toward warming comfort foods like soups to take the edge off the chill in the air. But the store-bought cans of soups are loaded with sodium, often busting your recommended daily allotment of the salty seasoning in just one or two servings. That’s why I make my own soups with fresh ingredients, loads of nutrients, low sodium content, and almost no fat. One of my favorites is a chickpea and cannellini minestrone that takes about 30 minutes to prepare, but tastes like it has been cooking all day long.